A failed silicone sealant joint tells you what went wrong if you know what to look at. The bead itself is evidence: where it separated, whether it tore or peeled, and what is underneath it all point at a specific cause — and most of them are decided before the sealant was ever opened.
This guide covers the failure modes we see most often, how to identify each one, and which ones can be repaired rather than replaced.
First, read where the failure is
The single most useful diagnostic is the location of the break:
- Between sealant and substrate — adhesion failure. The bead is intact but has released from the frame, panel or glass.
- Through the middle of the bead — cohesive failure. The sealant tore or split internally, which points at movement or joint geometry rather than contamination.
- At the interface along the whole run — usually tooling or cure, not the product.
- Blisters or bubbles in the bead — moisture or trapped air escaping through the sealant.
- Black or brown edge, surface mould — a separate problem from structural failure, covered below.
Adhesion failure: the causes, in order of frequency
Failure to prepare the substrate properly is the most common cause of adhesion loss. In practice it breaks down into four specific mistakes:
| Cause | Where it happens | What you see |
|---|---|---|
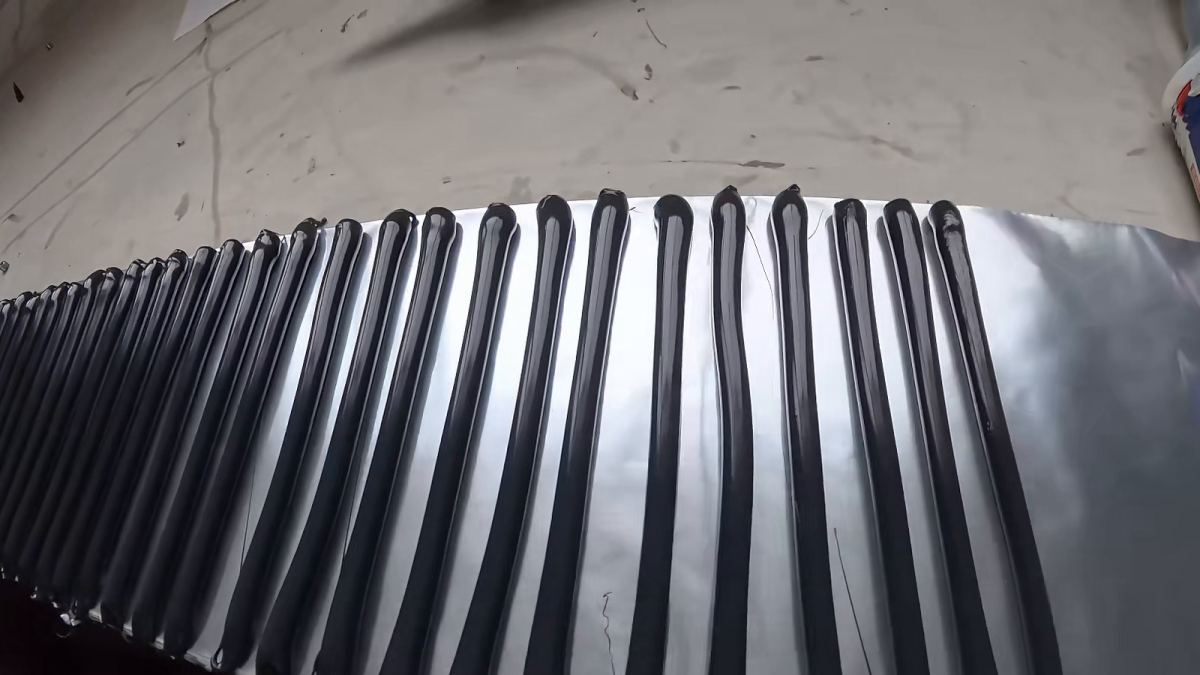
| Oil, cutting fluid, handling residue | Fabricated metal, aluminium | Bead releases cleanly from the metal, substrate looks shiny under the bead |
| Cement laitance and concrete dust | Precast concrete, masonry | Sealant bonded to the laitance, which then separated from the panel |
| Coating mismatch | ACP, coated aluminium | Peel along the coating face, often after a few months |
| Trapped moisture | Any damp substrate | Blisters or loss of adhesion rather than a clean peel |
Two of these are worth stating plainly. On fabricated metal, oil, cutting fluid and handling residue are the usual cause of adhesion failure — the sealant bonds to the oil, and the oil releases from the metal. On precast, concrete dust and the weak cement laitance layer must be removed, otherwise the sealant bonds to the laitance instead of the panel.
And where the substrate is damp, trapped moisture has to escape somewhere; in a sealed joint it usually means the sealant blisters or loses adhesion. Check substrate moisture before sealing, not after.
Cohesive failure: joint geometry and movement
If the bead split internally, the sealant was asked to do something the joint was not designed for. Three causes account for most of it:
- Sizing on thermal movement alone. On precast concrete, sizing on thermal movement alone is the usual reason a joint tears within a few years — the irreversible moisture expansion concrete keeps showing has to be added to the calculation.
- Wrong depth ratio. A joint that is too deep for its width cannot move as designed and will tear. Keep the depth at roughly half the joint width, and use backing material so the sealant does not bond to the back of the joint.
- Movement class too low. A Class 25 grade in a joint that needs Class 50 will fail on the first large thermal cycle.
Joint design and depth ratio are covered in the window and door construction sealant joint guide, and the width calculation is available in our joint width and coverage calculator.
Interface leaks: tooling and cure
A bead that looks fine and still leaks is almost always one of two things. An untooled bead leaks along the interface no matter how good the product is, because tooling is what forces the sealant onto both substrates and removes trapped air. And testing too early gives a false pass: the bead is still soft inside and peels away from the substrate, so the joint appears to fail for no reason.
Run the field adhesion check only after the bead has fully cured. Full cure runs at roughly 2 to 4 mm per 24 hours from each exposed surface, so a wide bead needs days, not hours. The application guide covers the sequence step by step.
Freeze-thaw failure
On cold room, freezer and exterior joints in cold climates, the mechanism is different. Constant low temperature is a steady state; freeze-thaw cycling is not. Water that gets into the joint freezes, expands, and opens the crack a little wider each cycle until the seal fails. Acrylic and butyl sealants embrittle in this condition and crack instead of flexing, which is why silicone is specified for these joints. See the silicone sealant for cold storage page for the low-temperature grades.
Mould and the black edge: a different failure
Surface mould on a silicone joint is a hygiene problem, not a structural one. But the black edge that appears on a mirror is not mould at all — it is acid attack on the copper backing layer, and it is permanent. Once the backing layers have been attacked, the mirror cannot be repaired. The full mechanism is covered in the mirror backing guide, and mould prevention in the mould and mildew guide.
Can it be repaired?
- Remove the old sealant completely — strip it, do not seal over it. A new bead over a failed one fails with it.
- Find the cause before re-sealing. If the cause was joint geometry, re-sealing reproduces the failure. Re-size the joint first.
- Clean and prepare the substrate to the original standard — degrease metal, remove laitance from concrete, confirm the coating.
- Check the substrate is dry before applying, or the new joint blisters.
- Use backing material and tool the new bead.
- Adhesion-test the new joint after full cure, not before.
Where the cause was adhesion on a specific coating, the fix is often a different grade rather than a better application — which is why we run a free adhesion and staining test on your own substrate sample before supply. Removing and re-applying the same silicone sealant over a joint that failed for a geometry reason simply reproduces the failure.
Preventing the failure in the first place
Most of the causes above are eliminated by a substrate test and a joint calculation before the order, not by a better product afterwards. We are a silicone sealant manufacturer selling direct to importers, distributors and private label brands. Every batch is coded, tested and archived for 18 months with its own Certificate of Analysis, so a batch-level problem can be separated from an application problem rather than argued about.
- MOQ — OEM and private label from 1,000 pcs per model; mixed-model trial orders from 3,000 pcs total; stock items from 500 pcs.
- Lead time — typically 15–25 days after artwork and sample approval.
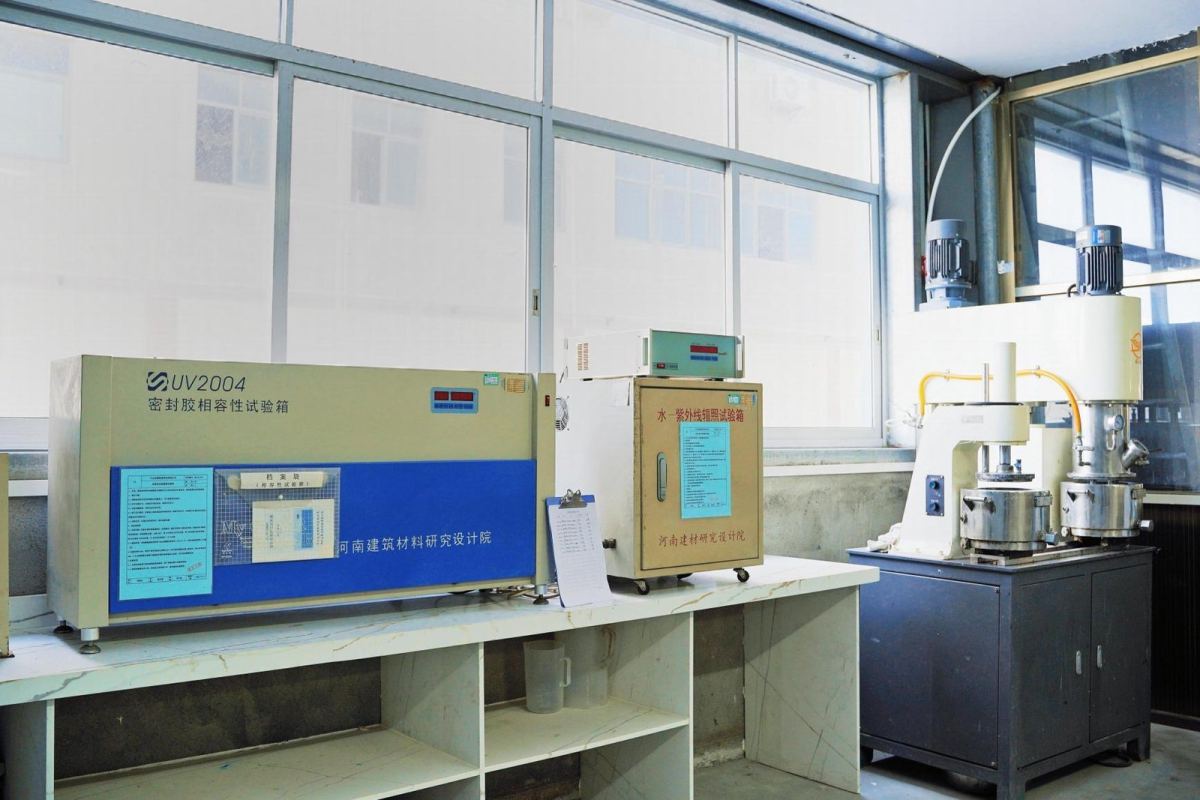
- Samples — 2 to 4 free sample cartridges or sausages, plus a free substrate adhesion and staining test on your own material.
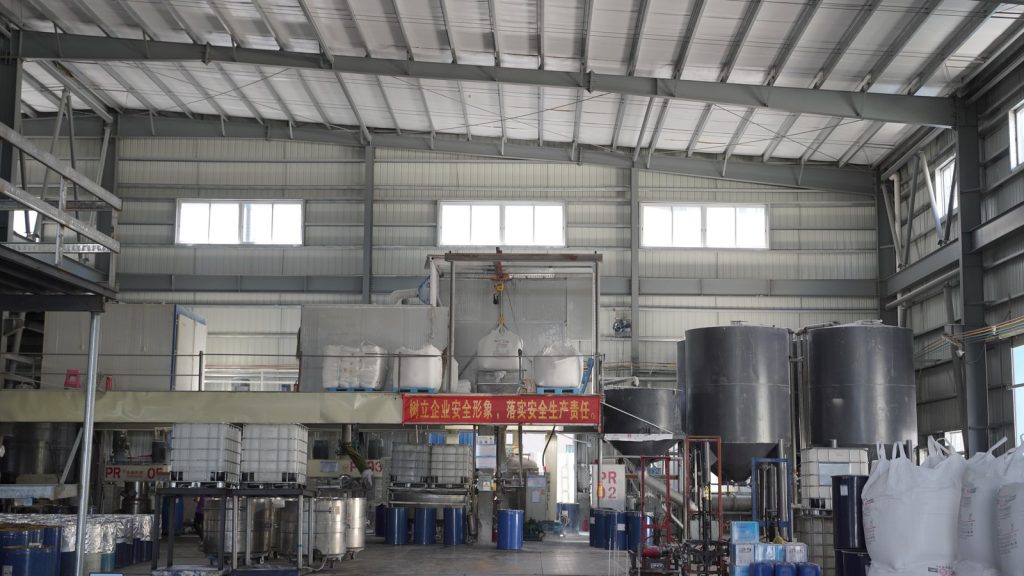
Send the joint detail and the substrate and we will confirm the grade before you order — that is cheaper than diagnosing the failure afterwards. Our Zhongshan factory runs eight automated filling lines with in-process checks and batch testing.
The four failure modes, named the way a report names them
When a laboratory writes up a failed joint it uses four terms, and matching your site observation to the right one is what tells you whether the problem is the sealant, the substrate or the joint design:
| Term | What you see | What it usually means |
|---|---|---|
| Adhesive failure | The bead pulls away cleanly from one or both faces; the surface under it looks like new | Contamination, missing primer, or a substrate the grade was never meant for |
| Cohesive failure | The bead tears through its own body, leaving sealant stuck to both faces | The joint is moving more than the sealant can take — wrong movement class or undersized joint |
| Three-sided adhesion | The bead is bonded to both faces and the joint base, so it tears internally when it flexes | No backer rod, or a bead shaped too deep relative to its width |
| Bubbling or pinholing | Voids inside the bead or small holes on the surface | Air trapped during tooling, or solvent flashing off in a deep bead |
The distinction is not academic. Adhesive failure points at preparation and compatibility; cohesive failure points at joint design and movement class. Treating one as the other is why a joint gets repaired twice: if the real problem is that the joint is undersized, re-sealing with a better-adhering product will fail again on the next thermal cycle. Our joint width calculator checks whether the joint was ever wide enough for the movement it sees.