Key Takeaways for Site Supervisors
- Most sealant joint failures are design failures, not product failures — the wrong width-to-depth ratio is the single most common cause.
- The industry rule of thumb is a 2:1 width-to-depth ratio for joints up to 12 mm wide, with a minimum depth of 6 mm.
- Joint width must accommodate the full calculated movement:
W = ΔL ÷ (movement class ÷ 100) × safety factor. - A closed-cell polyethylene backing rod is not optional. It sets the depth, prevents three-sided adhesion, and lets the sealant form the correct concave bead profile.
- Three-sided adhesion (bonding to the joint floor) is the fastest way to guarantee premature cohesive failure.
- Never tool a sealant with soapy water — it leaves a residue film that prevents proper bonding.
This guide collects the construction best practices for window and door sealant joints: the geometry that decides whether a bead lasts five years or twenty-five, the substrate choices that cannot be reversed once the sealant cures, and the site sequence that keeps every joint inside its designed movement range.
1. Why Joint Geometry Decides Whether a Sealant Lasts 5 Years or 25
When a window or door silicone sealant fails in service, the first reaction is usually to blame the material. In practice, forensic inspections of failed facade joints repeatedly find the same root causes, and they are almost always geometric:
- The joint was too narrow for the movement it had to absorb, so the sealant was torn apart by thermal cycling.
- The joint was too deep, so the sealant bonded to three sides and could not elongate.
- No backing rod was installed, so the sealant was applied in a thick block rather than a thin, elastic membrane.
- The joint faces were contaminated with dust, oil, release agent or moisture before application.
A silicone sealant is an elastic membrane. Its whole job is to stretch and recover. If the geometry prevents it from stretching, no formulation — at any price point — will survive. This guide covers the field calculations and installation sequence that Southeast Asian contractors should apply to window and door joints.
2. The Two Numbers That Define a Joint
2.1 Joint width (W)
Joint width is driven by the amount of movement the assembly will experience. For a facade panel or window frame, thermal movement is calculated as:
ΔL = α × L × ΔT
α— coefficient of linear thermal expansion of the panel material (aluminum ≈ 23 × 10⁻⁶ /°C, glass ≈ 9 × 10⁻⁶ /°C, concrete ≈ 10 × 10⁻⁶ /°C)L— panel length in millimetersΔT— the surface temperature range the assembly will see
Once you know the total movement, the minimum joint width is derived from the sealant’s movement capability class:
W = ΔL ÷ (Class ÷ 100) × SF
where SF is a safety factor — typically 1.5 for curtain wall work. Movement class comes from the standard the silicone sealant is tested against: GB/T 14683-2017 in China, ISO 11600 or ASTM C920 internationally.
| Panel material | Typical ΔT (tropical) | Panel length | Thermal movement ΔL | Min. joint width (Class 25, SF 1.5) |
|---|---|---|---|---|
| Aluminum window frame | 45 °C | 1,500 mm | ≈ 1.6 mm | ≈ 9.5 mm |
| Aluminum curtain wall mullion | 50 °C | 3,000 mm | ≈ 3.5 mm | ≈ 21 mm |
| Glass panel | 40 °C | 2,000 mm | ≈ 0.7 mm | ≈ 4.3 mm |
| Concrete precast panel | 35 °C | 3,000 mm | ≈ 1.1 mm | ≈ 6.3 mm |
These are illustrative calculations, not project specifications. Real projects must use the actual design temperature range, the actual panel dimensions and the movement class printed on the sealant’s test report. For exact figures on a specific PIROI grade, consult PIROI with your project parameters — we will run the numbers against the product’s certified movement class.
Practical minimums also apply regardless of calculation: most facade specifications will not accept a joint narrower than 6 mm for weather sealing, or narrower than 10 mm for joints expected to take significant movement.
2.2 Joint depth (D)
Depth is where most site errors happen. The silicone sealant should form a relatively thin profile — thick beads behave as a rigid block rather than an elastic membrane and fail by cohesive tearing.
The standard guidance:
- For joints up to 12 mm wide: depth = W ÷ 2, with a minimum of 6 mm.
- For joints wider than 12 mm: depth = min(W ÷ 2, W − 6 mm). The
W − 6 mmcap exists so that very wide joints do not get an unnecessarily thick bead. - Absolute maximum: the sealant should never be more than about 12 mm deep in a moving joint.
| Joint width W | Recommended depth D | Backing rod diameter |
|---|---|---|
| 6 mm | 6 mm (minimum) | ≈ 8 mm |
| 10 mm | 6 mm | ≈ 13 mm |
| 16 mm | 8 mm | ≈ 20 mm |
| 20 mm | 10 mm | ≈ 25 mm |
| 25 mm | 12 mm (maximum) | ≈ 32 mm |
The backing rod diameter is normally specified as W × 1.25. Do not round this up to a “standard” size that is significantly larger — an oversized rod compresses the sealant from behind and pre-stresses the joint before the sealant has even cured.
For a free joint width and coverage calculator that runs these formulas for your own panel material, length and temperature range, use the PIROI sealant joint width calculator.
3. Substrate Compatibility: The Choice That Cannot Be Reversed
Joint geometry can be corrected on site. Substrate compatibility cannot — once the wrong cure chemistry is applied, the damage is done. Two rules matter most for window and door work:
- Acetoxy (acid-cure) sealants must not be used on: bare aluminum, copper, brass, zinc, lead, mirror backing, marble, concrete, or any cementitious substrate. The acetic acid released during cure attacks these materials and can leave permanent staining.
- Neutral cure sealants release alcohol or oxime byproducts and are compatible with the full range of common building substrates, including alkaline surfaces and metal frames. They are the default choice for curtain wall, window and door perimeter joints.
Acetoxy formulations still have a legitimate role: glass-to-glass joints and glazing where fast cure and high initial grab matter and no corrodible metal is present. Where both materials appear in the same building — glass joints and aluminum frames — a neutral cure product is the safe default for the whole project.
4. Field Installation: The Five-Step Sequence
-
01
Verify the joint dimensions before ordering material
Measure the actual as-built joint width at several points along the run — not the drawing dimension. Joints frequently vary by several millimeters. Where the variation exceeds the tolerance, correct the substrate before sealing rather than filling a deep gap with sealant.
-
02
Clean both joint faces with the two-cloth technique
Wipe with a clean, lint-free cloth saturated with an approved solvent (typically isopropyl alcohol or xylene for non-porous substrates), then immediately wipe with a second dry cloth. The second wipe removes the solvent film and the contaminants it has lifted. Using a single cloth simply redistributes the contamination.
On porous substrates such as concrete, solvent cleaning is ineffective. Remove laitance and loose material mechanically, then use a primer. Allow the primer to dry completely — typically 30 to 60 minutes — before applying sealant.
-
03
Insert the backing rod to the correct depth
Push the closed-cell polyethylene rod into the joint using a blunt tool. Do not puncture the rod — a punctured rod allows sealant to flow past it and re-creates the three-sided adhesion problem. The rod should sit at the depth calculated in section 2.2, leaving the designed sealant thickness.
Never use open-cell foam or offcuts of insulation board as a backing material. Open-cell foam absorbs moisture and can hold it against the back of the sealant.
-
04
Apply in a continuous push-bead
Cut the cartridge nozzle at 45° to a diameter slightly smaller than the joint width. Apply with steady pressure, pushing the bead forward rather than dragging it, and keep the nozzle in contact with the sealant so the material is forced against both joint faces. This eliminates trapped air pockets.
Apply in one continuous pass wherever possible. Stopping and restarting mid-run creates a cold joint that becomes the first point of failure.
-
05
Tool within the working time, then remove masking immediately
Tool the bead with a dry spatula or a tooling agent approved for silicone — never soapy water. Soap residue leaves a film on the joint faces that prevents the sealant from bonding to the next section and can cause long-term adhesion loss.
Remove masking tape while the sealant is still uncured. Once it has skinned over, removing the tape will pull the edge of the bead away from the substrate.
5. Six Mistakes That Show Up in Every Inspection Report
| Mistake | What happens | Correct approach |
|---|---|---|
| Applying sealant into a joint with no backing rod | Sealant bonds to three faces; movement tears it apart | Always install closed-cell PE backing rod to the designed depth |
| Filling a joint that is too wide by making the bead thicker | The bead behaves as a rigid block and fails cohesively | Keep depth capped; add a secondary seal or revise the joint design |
| Using soapy water as a tooling lubricant | Residue film prevents bonding along the joint faces | Use a dry spatula or an approved silicone tooling agent |
| Applying over a damp or frosty surface | Adhesion failure; the bead peels off as a continuous strip | Verify substrate temperature and moisture before application |
| Using acetoxy sealant on aluminum or concrete | Corrosion of metal frames; permanent staining on alkaline substrates | Use neutral cure sealant for metal frames and cementitious substrates |
| Re-tooling or reworking a bead after it has skinned | Skin is broken; surface defects and adhesion loss | Tool once, within the working time stated on the TDS |
6. Tropical Site Conditions: What Changes in Southeast Asia
Window and door joint design in Vietnam, Thailand, Malaysia, Indonesia and the Philippines differs from temperate practice in three practical ways:
- Higher ΔT on metal frames. Dark-anodized or powder-coated aluminum frames in direct sun routinely reach 60–70 °C surface temperature. Thermal movement is correspondingly larger, so joint widths must be calculated from the real surface temperature, not the ambient air temperature.
- Monsoon application windows. Substrate moisture is the most common cause of adhesion failure in tropical projects. Sealant should not be applied when the substrate surface temperature is below 4 °C or above 50 °C, and never onto a damp surface. Schedule sealing for the morning of a dry day where the monsoon season allows it.
- Mold and mildew risk on interior joints. Interior window and door perimeters in bathrooms, kitchens and other high-humidity rooms need a sealant with a fungicidal additive, tested to
JC/T 885-2016at Grade 0 for mildew resistance. Exterior weather sealants do not need this property and typically do not carry it.
7. Frequently Asked Questions
8. Conclusion
Joint design is engineering, not improvisation. Get the width right by calculating thermal movement against the sealant’s certified movement class. Get the depth right by applying the 2:1 ratio and installing a backing rod. Get the substrate preparation right with the two-cloth technique and the correct cure chemistry. Do those three things and a properly specified neutral cure sealant will outlast the building’s first repaint cycle. For substrate-specific guidance — aluminium, uPVC, timber and masonry frames — see our window and door sealing application page.
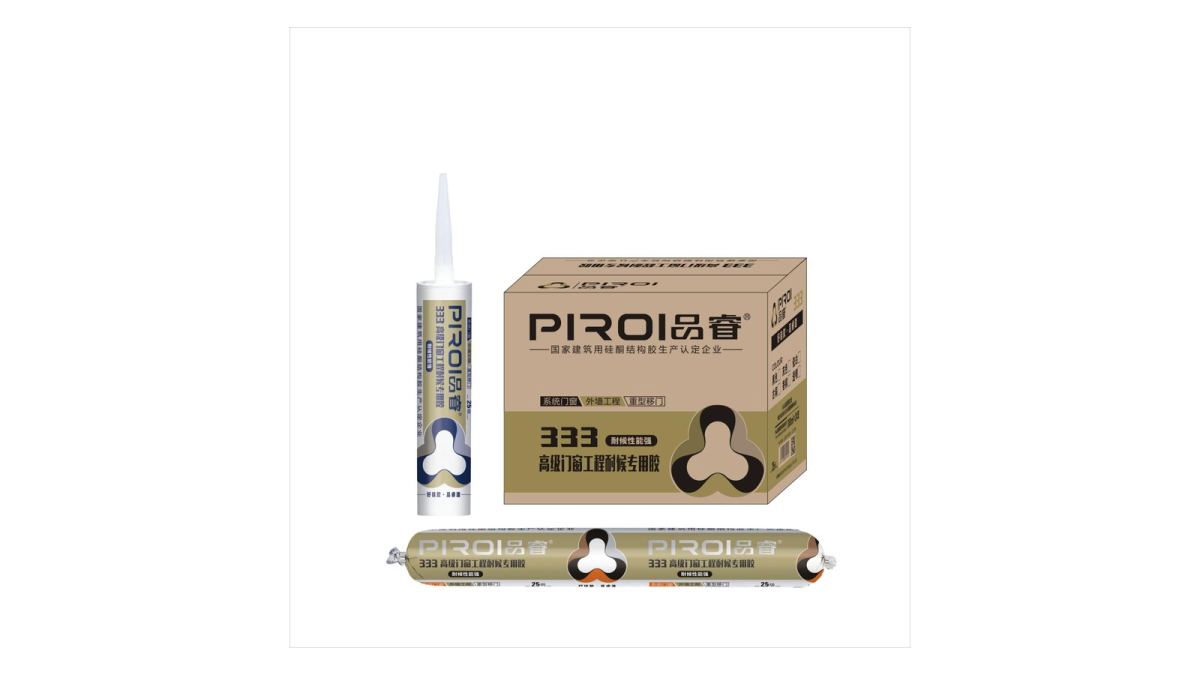
PIROI manufactures neutral cure window and door sealants in Zhongshan, China, tested to GB/T 14683-2017 and supplied with full test reports for project submittals. Our engineering group can review your joint schedule, recommend the correct grade for each location, and provide samples for on-site trial application before you commit to a bulk order.
Joint geometry is half of the decision; the other half is the product. For the frame-by-frame choice — uPVC, aluminium, timber and RV windows, and why acetoxy must not be used on metal frames — see our guide to choosing window and door sealant by frame material.