
Joining Process
A five-step application method that guarantees long-term adhesion, weatherproofing and appearance — as used on our own project references.
How to Apply PIROI Sealant Correctly
Follow these five steps for structural, weatherproof and sanitary applications. Failure to prepare the substrate properly is the most common cause of adhesion loss.
 01
Surface Preparation
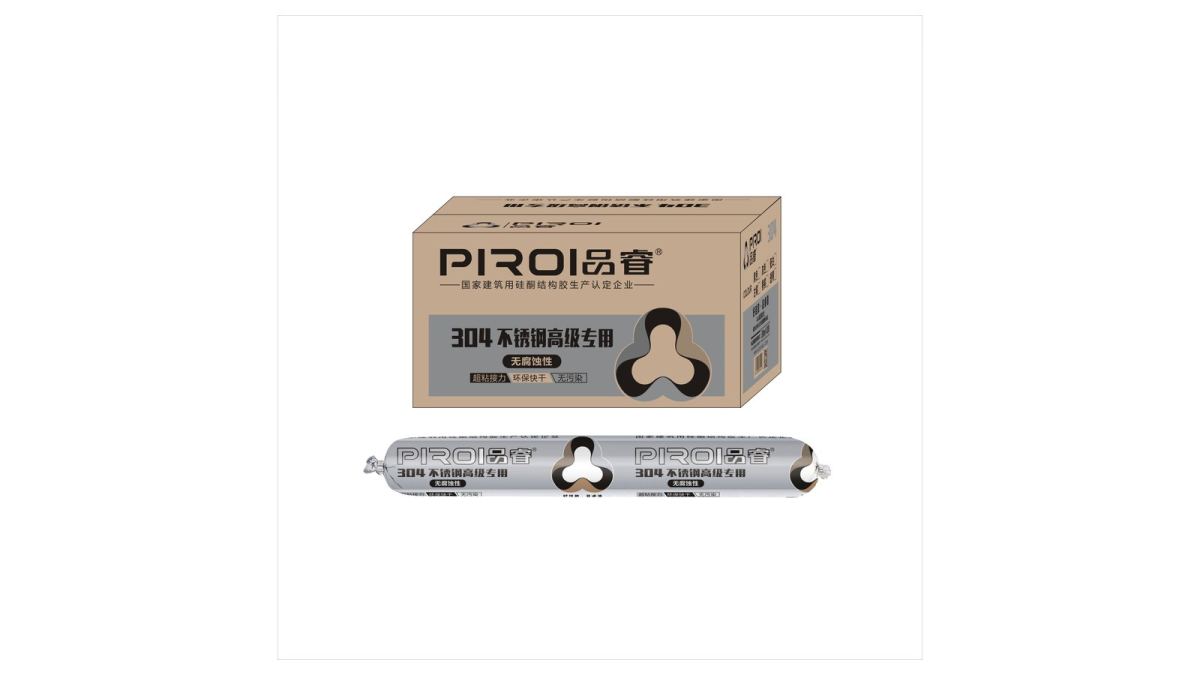
Clean the joint with a dry, lint-free cloth. Remove dust, oil, moisture and loose particles. For porous or dusty substrates apply a primer and let it dry completely.
 02
Backing Rod & Masking
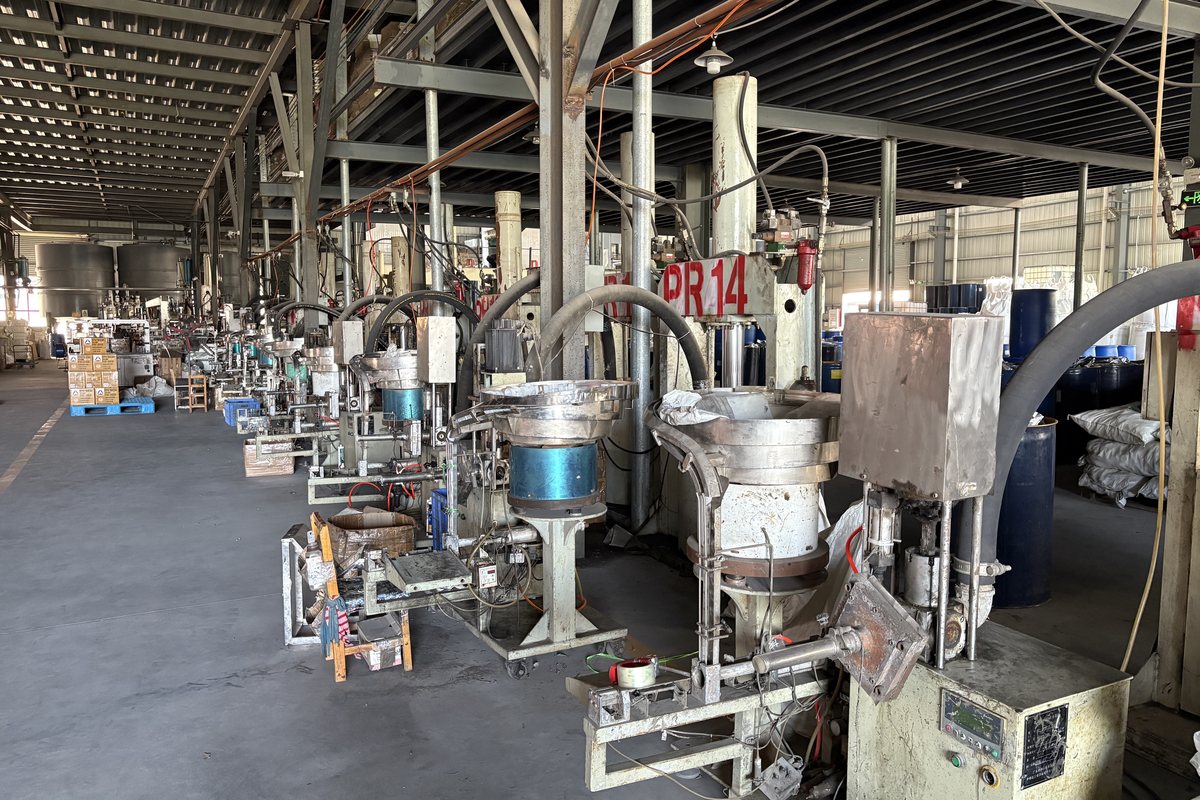
Insert a closed-cell polyethylene backing rod to control joint depth (recommended depth = half of width). Apply masking tape along both edges for a clean finish.
 03
Apply the Sealant
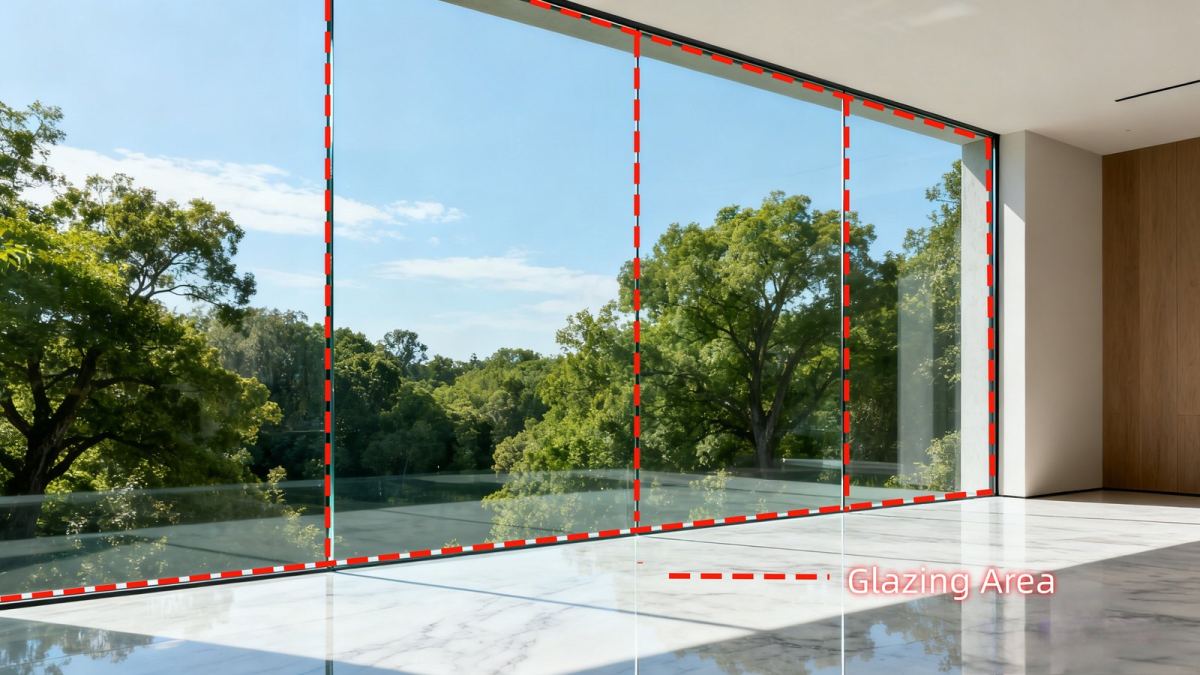
Cut the nozzle at 45° to the joint width. Push the cartridge at a steady, even speed keeping a 45° angle — never drag, always push — so the sealant wets the full joint depth.
 04
Tool & Smooth
Tool the joint within the working time using a spatula or gloved finger with soapy water. Remove masking tape immediately while the sealant is still wet.
 05
Cure & Inspect
Allow curing 24 hours before water contact and 7 days for full performance. Inspect for air pockets, voids or adhesion loss; repair any defect according to the same process.
Do & Don't
Do
- Test adhesion on a small area first, especially on concrete, terracotta and anodised aluminium.
- Keep the joint depth controlled with a backing rod — never apply a thick bead in one pass.
- Apply within the substrate and ambient temperature range stated on the technical data sheet.
- Clean uncured sealant with solvent; cure fully before water contact.
Don't
- Don't apply over damp, dusty or oily surfaces — adhesion will fail.
- Don't use acetoxy sealant on concrete, marble or metals sensitive to acid corrosion.
- Don't use sanitary anti-mold sealant as a structural or fire-rated product.
- Don't paint over curing sealant within 24 hours.