
Silicone sealant does not bond reliably to its own cured surface, and that one fact changes how a joint has to be resealed. A new bead on top of old cured sealant may look continuous on day one and open with the first movement cycle. This guide covers what the bond to cured silicone sealant really depends on and how to handle a joint that has to be joined to silicone that is already cured.
What the bond to cured silicone depends on
A silicone sealant bonds to cured silicone of the same family through a limited secondary adhesion, not through the chemical cure path it uses on glass or metal. Three conditions decide whether the joint holds:
- Cure state. The first bead has to be fully cured, not merely skinned. A surface that is still tacky will take the new bead, but the joint has not finished shrinking yet.
- Cleanliness. Dust, grease and mould release the bond. Wipe the joint with a dry cloth first, then with a solvent that leaves no residue and let it flash off.
- Joint design. A resealed joint that has to move is better bonded to a backer rod than bridged on top of the old bead. The new sealant then has a surface on all three sides instead of a line on top of a line.
Silicone sealant stick to itself: what the test shows
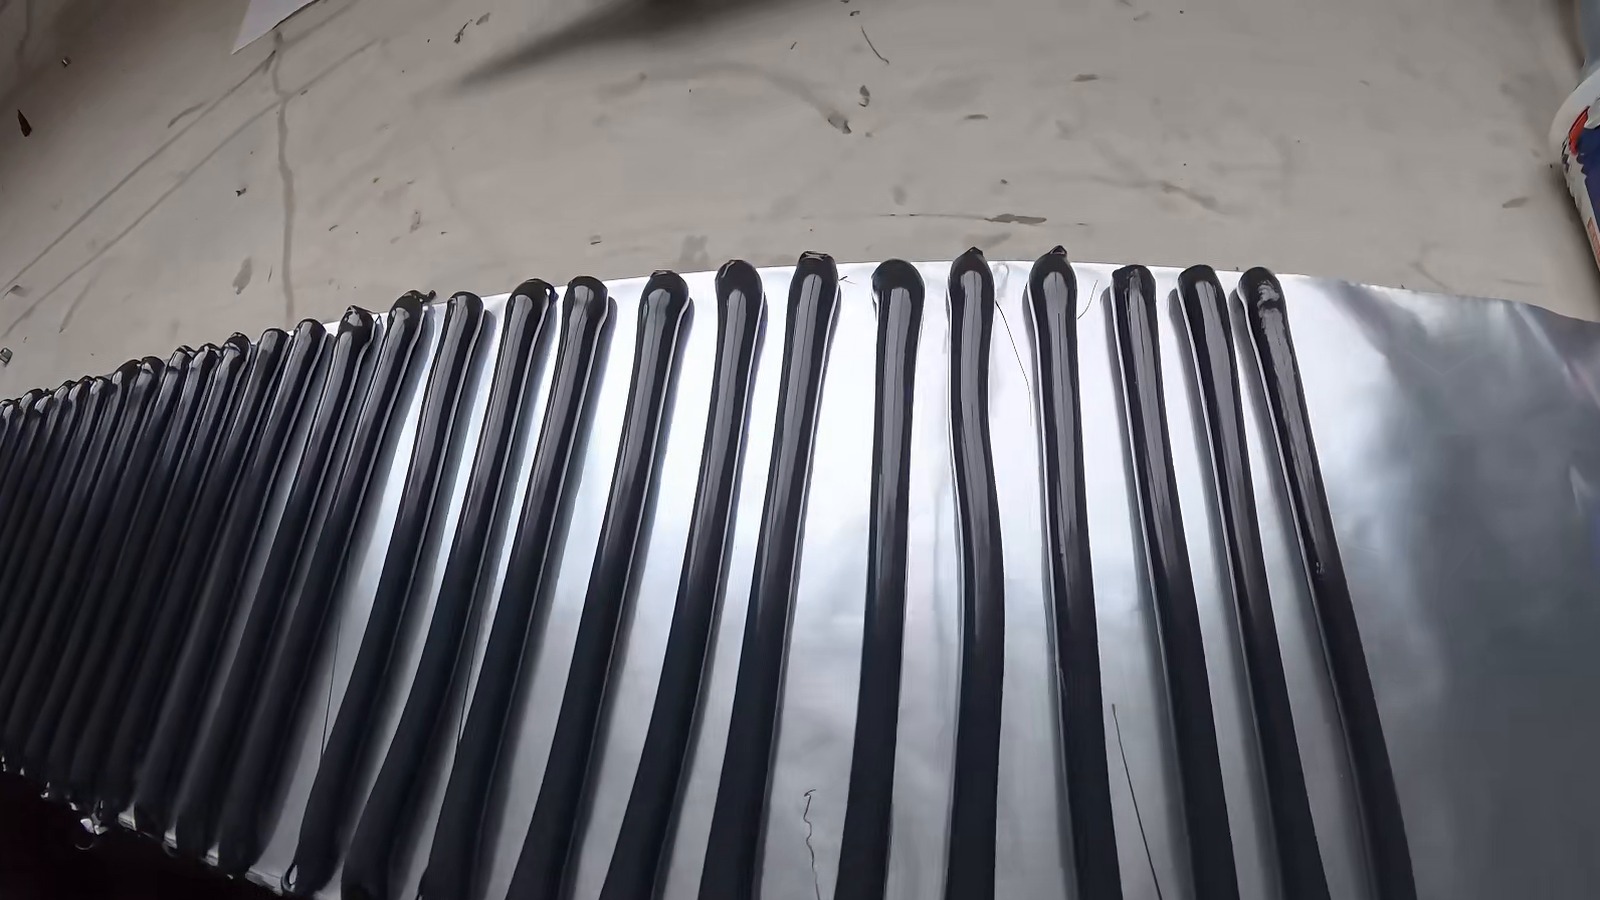
The bond between two cured faces of silicone sealant is measured as adhesion to itself, and it is lower than the adhesion to a cleaned substrate. On a moving joint that gap matters: the joint is where the movement concentrates, so the weakest interface opens first. For a static joint, like a sealed housing or a joint that will be covered, bonding to the cured bead is usually enough. For a joint that moves, remove the old sealant and rebuild the joint instead of sealing on top.
How to reseal a joint correctly
- Remove the old sealant from the moving joint with a cutter and pull the remains out of the corner, including the backer rod if it is spent.
- Clean and dry the joint. A solvent wipe removes the residue a dry wipe leaves behind, and the surface has to be dry before the new bead goes in.
- Rebuild the depth with a backer rod so the silicone sealant sits at the set width to depth ratio.
- Tool the joint so the bead is pressed against both sides of the joint rather than laid on top.
- Ask for the test report behind the adhesion value and check the MOQ, lead time and OEM or private label options before you order.
At our factory in Zhongshan every silicone sealant batch is tested before release, and a sample is available so the bond on your own joint can be checked before a full order. See the silicone sealant application guide and the window and door sealing page for joint details.
Test standards behind the adhesion claim
The adhesion a supplier quotes for a silicone sealant is measured to a named standard, and the number belongs to the substrate the test used. For a construction joint the report follows GB/T 14683 for a weatherseal grade or GB 16776 for a structural grade, and it shows adhesion to the named substrate after the cure time stated on the report. A bond value taken on glass does not describe a bond to a cured silicone sealant face or to a coated frame, which is why the substrate on the report matters more than the headline number.
Common mistakes when a joint has to be resealed
The most common mistake is sealing over the old bead because it looks continuous: on a moving joint the bond to the cured face opens first and the new bead follows it. The second mistake is wiping the joint with a solvent and sealing while the surface is still wet, because the residue keeps the silicone sealant off the substrate. The third mistake is skipping the backer rod, which leaves a bead with too much depth and not enough width, and depth is what limits how far the joint can move. The fourth mistake is judging the grade by the pack instead of by the test report.